 wall-e's craft
Ubuntu 卸载和安装
双系统卸载Ubuntu
在安装双系统的惯用手法是,在Windows下的磁盘管理中压缩出可用空间用于安装Ubuntu。
所以删除系统就是在磁盘管理中把对应的Ubuntu的卷删除即可。
Ubuntu的卷是在其安装的时候,划分空间的时候生成的,如果你划分了/boot,
那么磁盘管理中会有一个EFI 系统分区的的卷,用于存放系统内核,Windows系统也会有此卷的,删除的时候需谨慎区分。
通常在安装双系统的时候,会有系统引导项。在Ubuntu系统安装成功后,一般会有GNU GRUB作为多系统的启动管理器。
该管理器是可在Windows的EFI 系统分区的卷中删除。
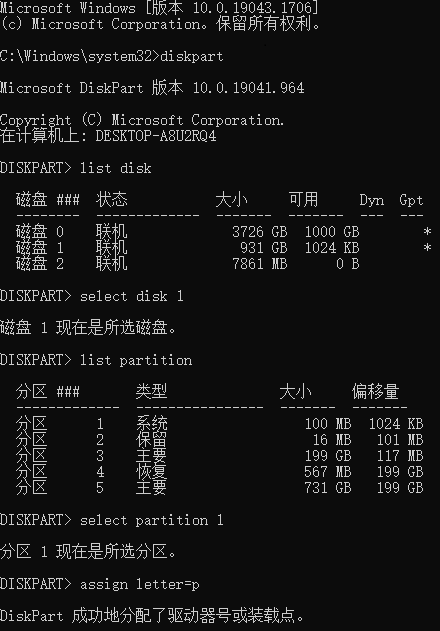
打开CMD命令提示符窗口,键入diskpart(磁盘分区管理工具)。然后依图行事,
将Windows的EFI 系统分区的卷赋予一个与已有盘符不冲突的盘符(这里用P来表示)。
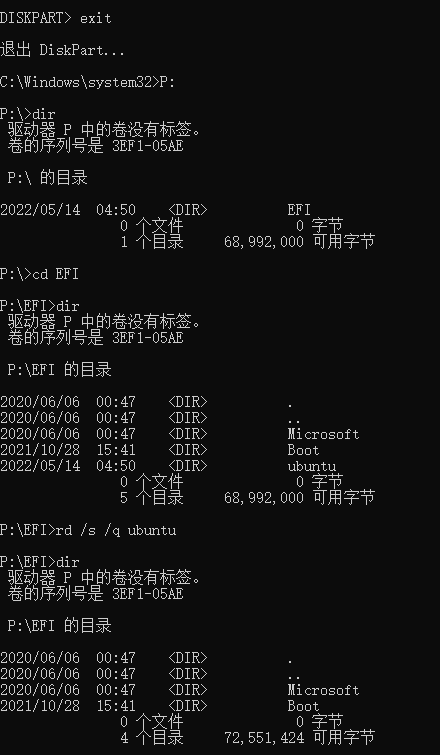
退出diskpart。进入P盘,如下图路径,在EFI文件夹下找到ubuntu,并将此删除。
最后重新回到diskpart。删去P盘的盘符即可。
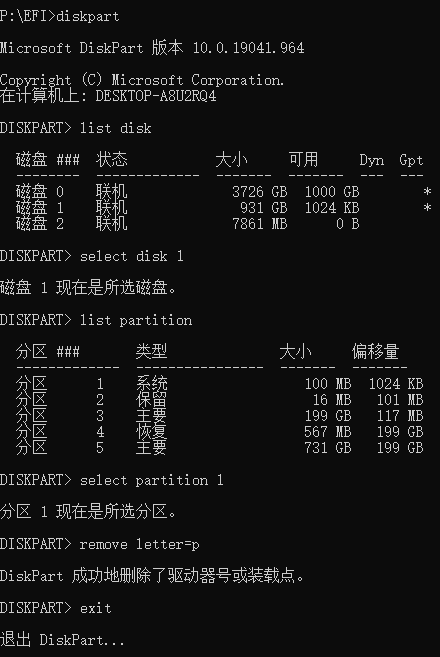
这样就完成了GNU GRUB引导项的卸载。
如果没有删除直接启动电脑,引导项将无法正常工作:
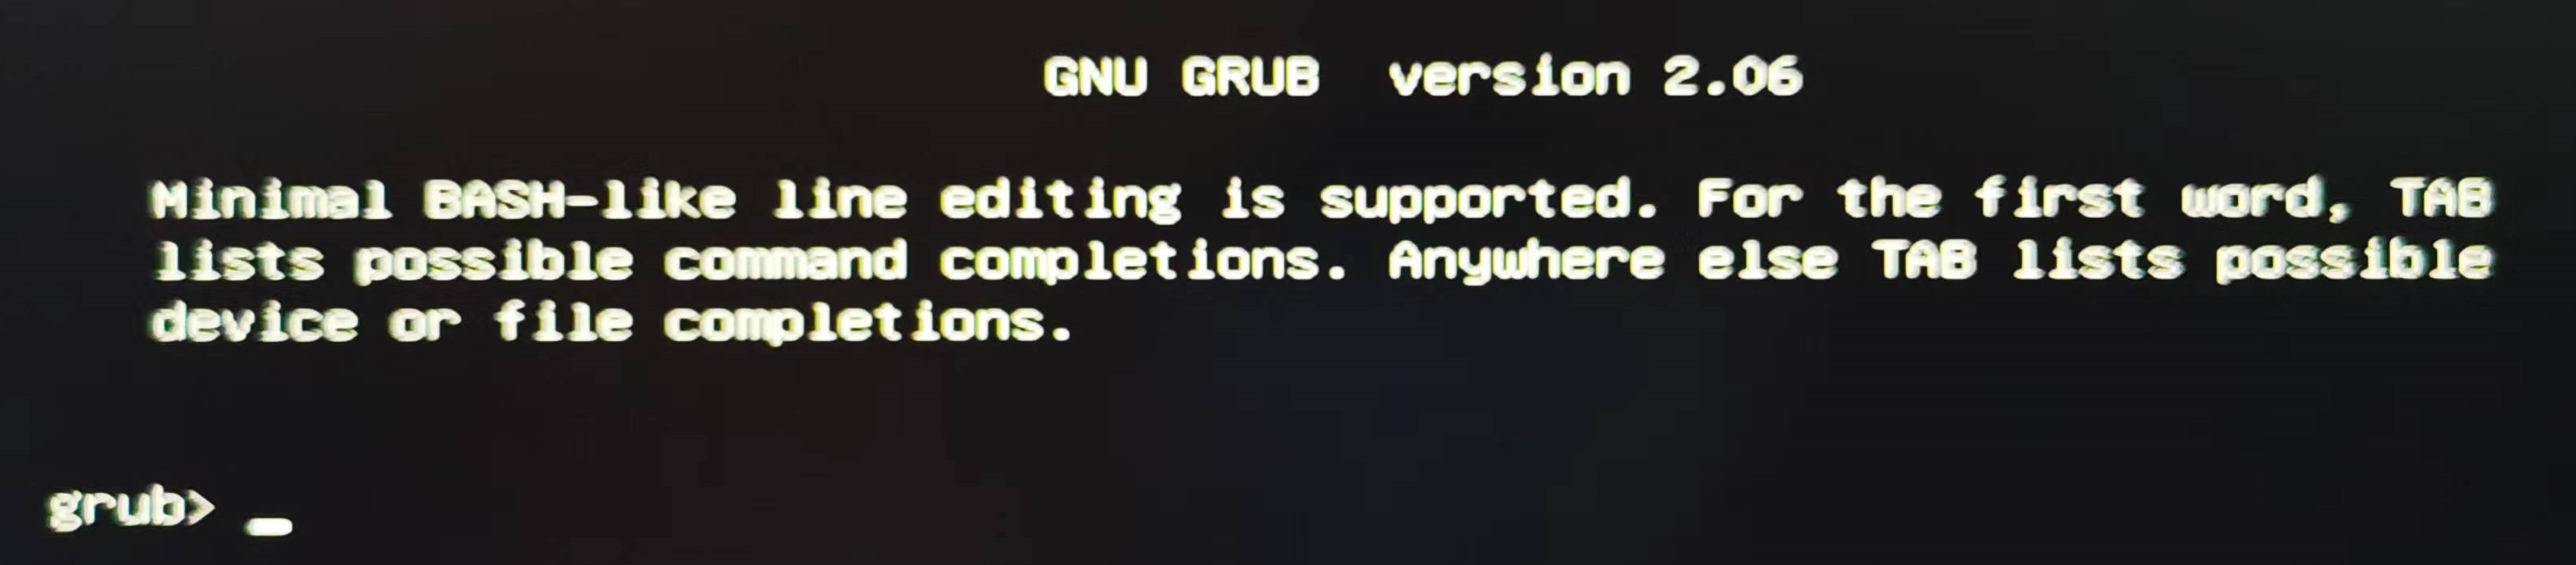
这时候,可以在BIOS改变下启动次序,优先启动Windows系统,然后进去再按照上述操作把残留的Ubuntu系统引导工具删去。
安装Ubuntu
Windows和Ubuntu双系统的安装的问题记录。
分区问题
在自定义安装Ubuntu系统的时候,会有分区的选择。以前分区的时候会给/boot,swap,/,/home分配大小。
以前的系统都推荐给/boot分配100M左右的大小即可,主要要于放置系统的内核,但是随着系统越来越大,
并且最新的内核已将视频模式设置已入内核,详见下文安装黑屏问题,所以之前的分区大小是不够的。
/目录相当于Windows的C盘,主要放置系统,如果想留有余量一般会规划个30G左右。
/home放置用户的文件,所以剩余的空间都是该目录下的。
swap分区,在系统的物理内存不够用的情况下回把硬盘的空间释放出来供当前运行的程序使用,一般都是推荐是内存的两倍大小。
如果内存够大,其实不用使用太多的swap分区,可以通过修改swappiness的数值来调整使用内存和swap的策略。
0代表最大程度使用物理内存,100则表示优先swap分区。如果想要调整swappiness的大小,可在/etc/sysctl.conf添加:
| |
查看内存和swap分区的使用情况。
| |
推荐的分区策略是:现在的机器内存够大,一般无需规划swap分区,其余的空闲大小都分给/目录。
安装黑屏问题
黑屏原因
在x服务器启动时,所有针对硬件的时钟速率和视频卡上的寄存器的编程都在内核中进行, 而不是在x驱动器中进行,这样做的目的是为了从启动画面到登录画面的过渡拥有更高的分辨率和漂亮的启动屏幕并且无闪烁。 但是有的卡就是不行,所以伺候你一个黑屏。
nomodeset
The newest kernels have moved the video mode setting into the kernel. So all the programming of the hardware specific clock rates and registers on the video card happen in the kernel rather than in the X driver when the X server starts. This makes it possible to have high resolution nice looking splash (boot) screens and flicker free transitions from boot splash to login screen. Unfortunately, on some cards this doesnt work properly and you end up with a black screen. Adding the nomodeset parameter instructs the kernel to not load video drivers and use BIOS modes instead until X is loaded.
Note that this option is sometimes needed for nVidia cards when using the default “nouveau” drivers. Installing proprietary nvidia drivers usually makes this option no longer necessary, so it may not be needed to make this option permanent, just for one boot until you installed the nvidia
quiet
This option tells the kernel to NOT produce any output (a.k.a. Non verbose mode). If you boot without this option, you’ll see lots of kernel messages such as drivers/modules activations, filesystem checks and errors. Not having the quiet parameter may be useful when you need to find an
splash
This option is used to start an eye-candy “loading” screen while all the core parts of the system are loaded in the background. If you disable it and have quiet enable you’ll get a blank screen.
参考Why do I need to replace “quiet splash” with “nomodeset”?
设置内核引导选项
1.系统安装出现黑屏
选择install ubuntu后,按e进入编辑模式,进入命令行模式, 在quiet splash 前面添加nomodeset。然后F10继续安装。
- Intel 82852/82855 或8系列显示晶片:i915.modeset=1或i915.modeset=0
- Nvidia:nomodeset
- 其它厂牌(如ATI,技嘉):xforcevesa或radeon.modeset=0 xforcevesa
2.启动系统出现黑画面
选择ubuntu后,按e进入编辑模式,进入命令行模式, 在quiet splash 后面添加nomodeset。然后F10继续安装。
3.永久设置
进去系统之后编辑/etc/default/grub(要管理者权限sudo)。
在GRUB_CMDLINE_LINUX_DEFAULT中添加nomodeset。如下:
| |
更新GRUB:
| |
然后重启。
init=/bin/bash内核特性
这个特性主要用于恢复系统或者修改密码。
在GNU GRUB引导进入系统的是,按e进入编辑模式,在linux的行尾添加init=/bin/bash,然后F10启动。
进入系统后可能要读写某个文件,会遇到Reas-only file system的情况。可以将上面的命令改为rw init=/bin/bash。
或者:
| |
恢复的指令为:
| |
科学上网
当然有商业软件VPN,这类产品稳定、支持多平台,但是价格也略高。
机场包括免费分享机场、付费机场订阅和自建机场。
- 免费分享机场不够稳定,质量也参差不齐,时间成本高。
- 自建机场需要买海外的主机,价格也不便宜,ip也容易被封。
我现在使用的是付费机场云翼,可点击邀请链接进入注册。
下图是这个机场提供的订阅方式:
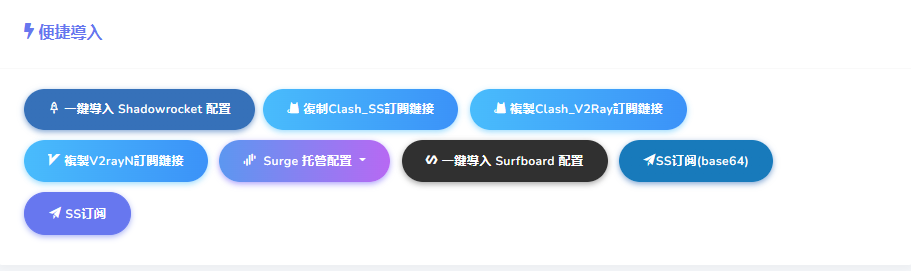
这里我们使用clash for Windows的上网软件,该软件可支持Windows、macOS、Linux系统。
在Releases中下载安装包,Ubuntu系统下载tag.gz即可,但是v0.19.18有gnome-shell内存泄漏,要避免使用该版本。
下载完成解压,并在解压路径下运行./cfw运行软件。
在机场中复制Clash_V2Ray订阅链接,并粘贴到clash for Windows的【Profiles】的下载位置下载节点列表。
这样就可以科学上网了。